

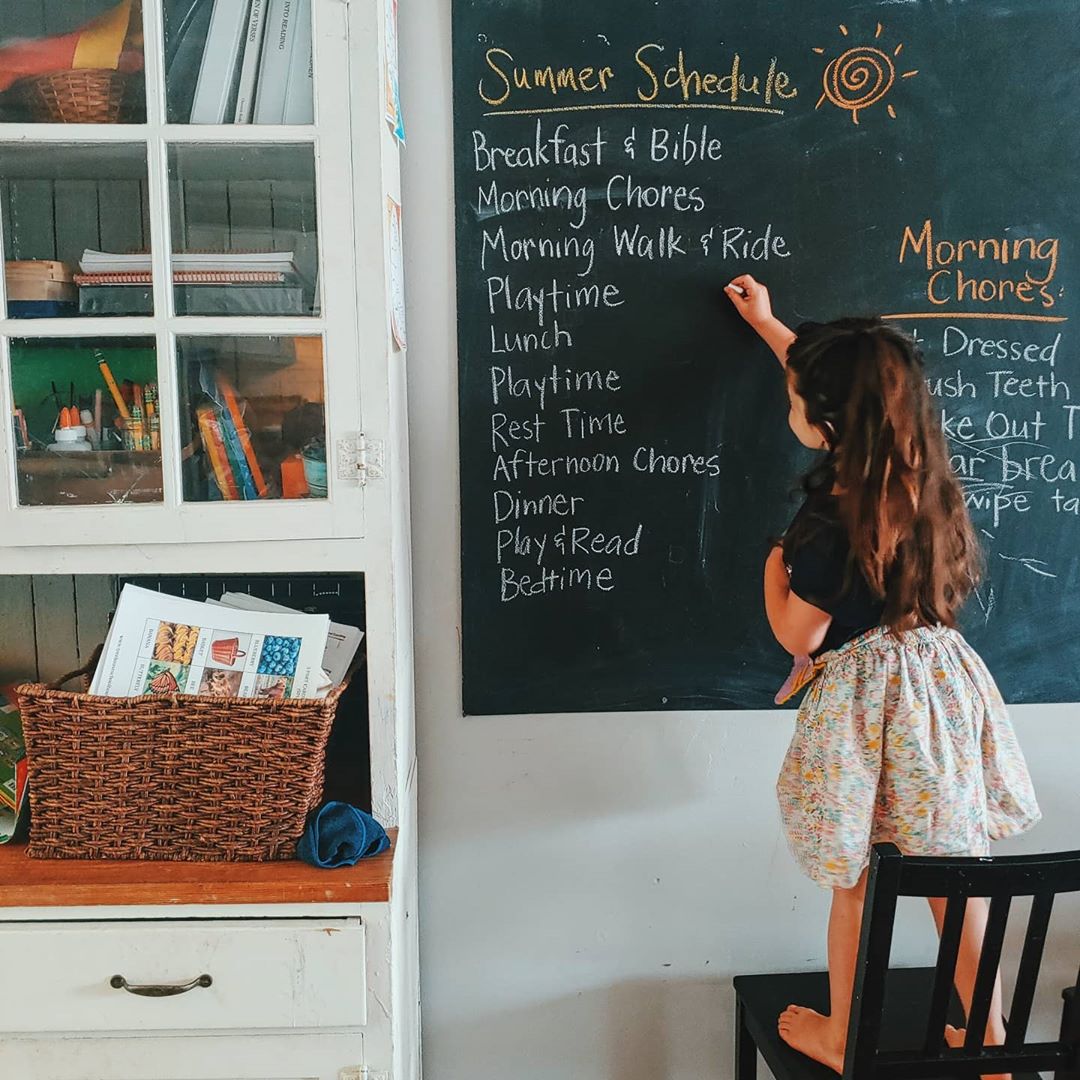
One of my dreams since before I was even married was to one day have a huge chalkboard on the wall behind my dining room table. I envisioned my future home with a long farmhouse table with little curly-headed creative children filling every chair. I had been inside a few families’ homes where it was evident that the days spent there were full of creating and learning from the moment you stepped in the door. I imagined my future family life being similar. I pictured watercolors and living books spread out, every child giving me their full attention and hanging onto every word I said as I led our lesson time. I am an idealist by nature, clearly.
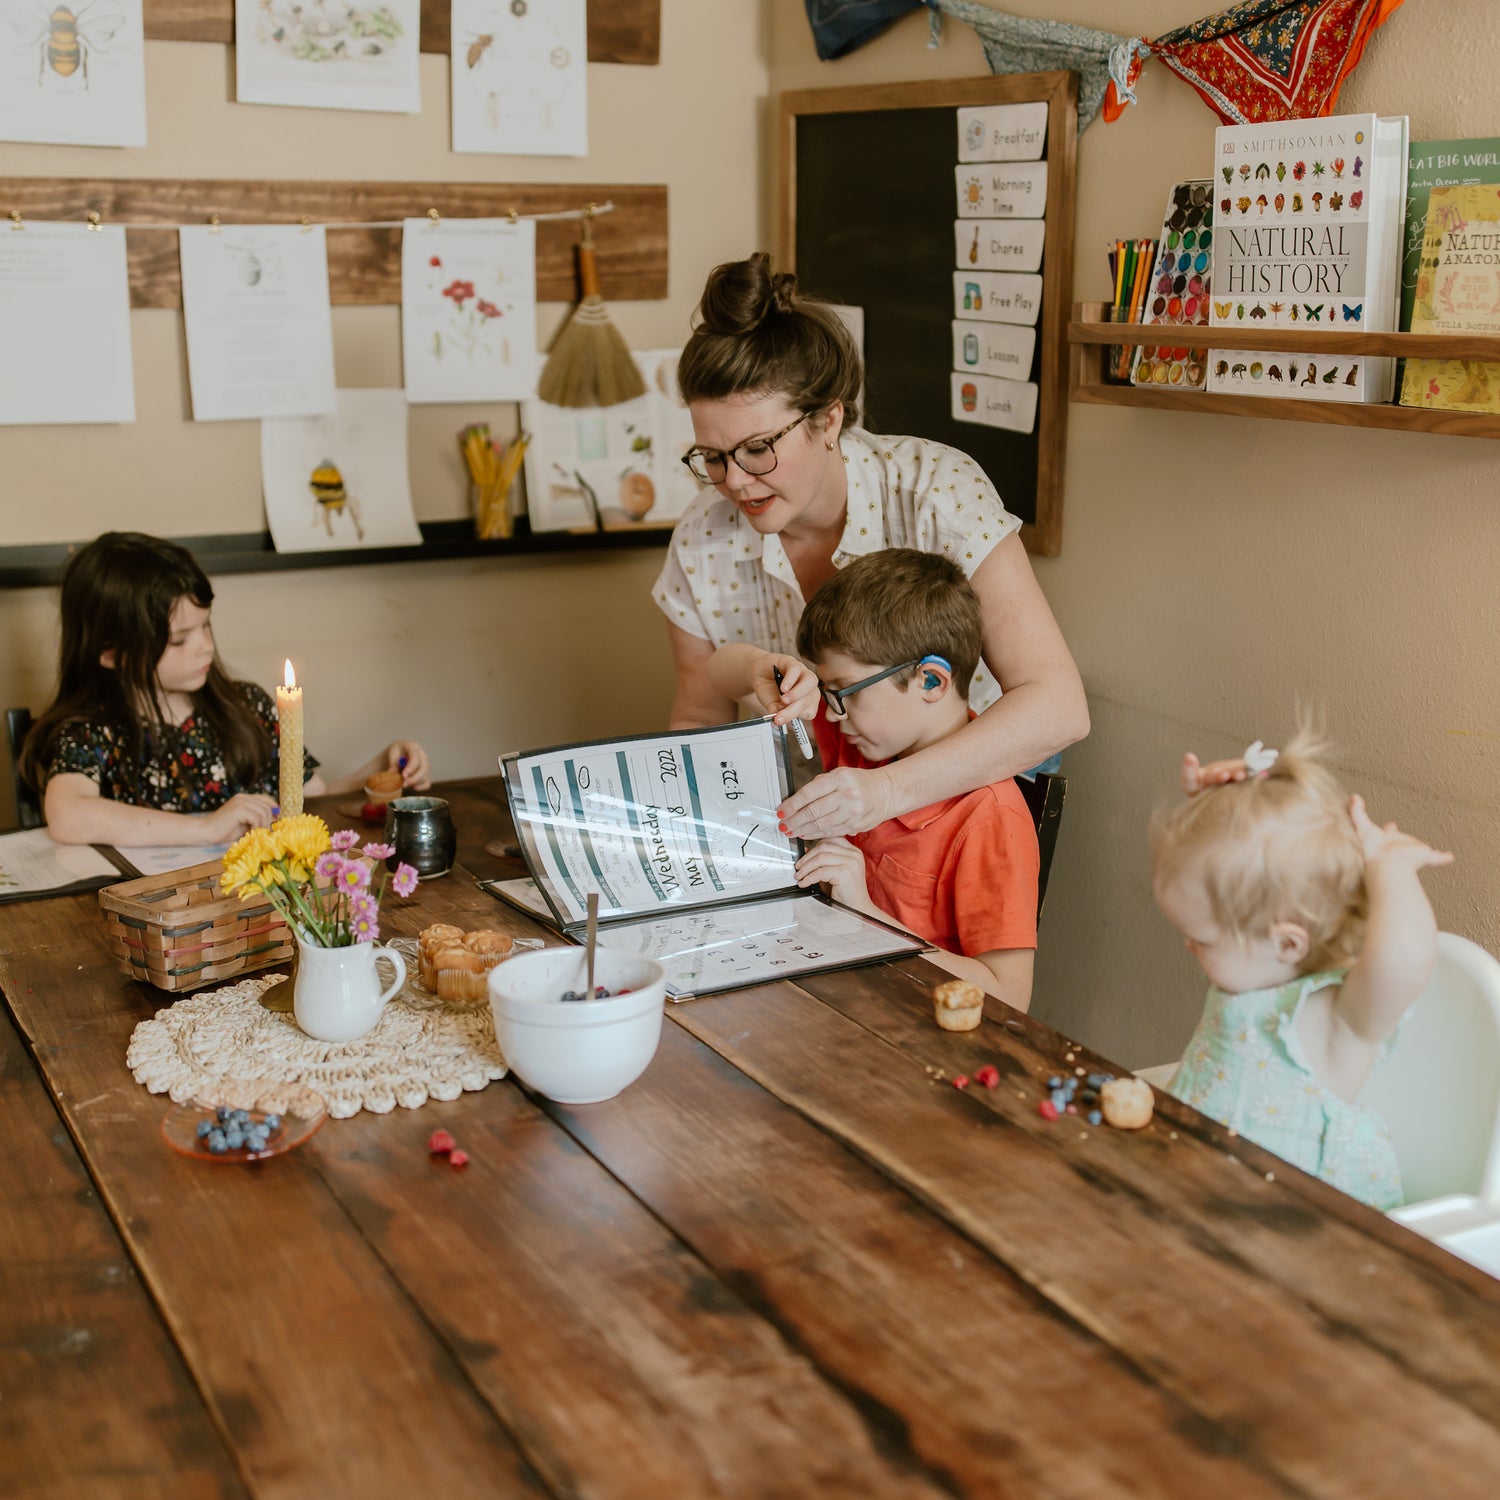
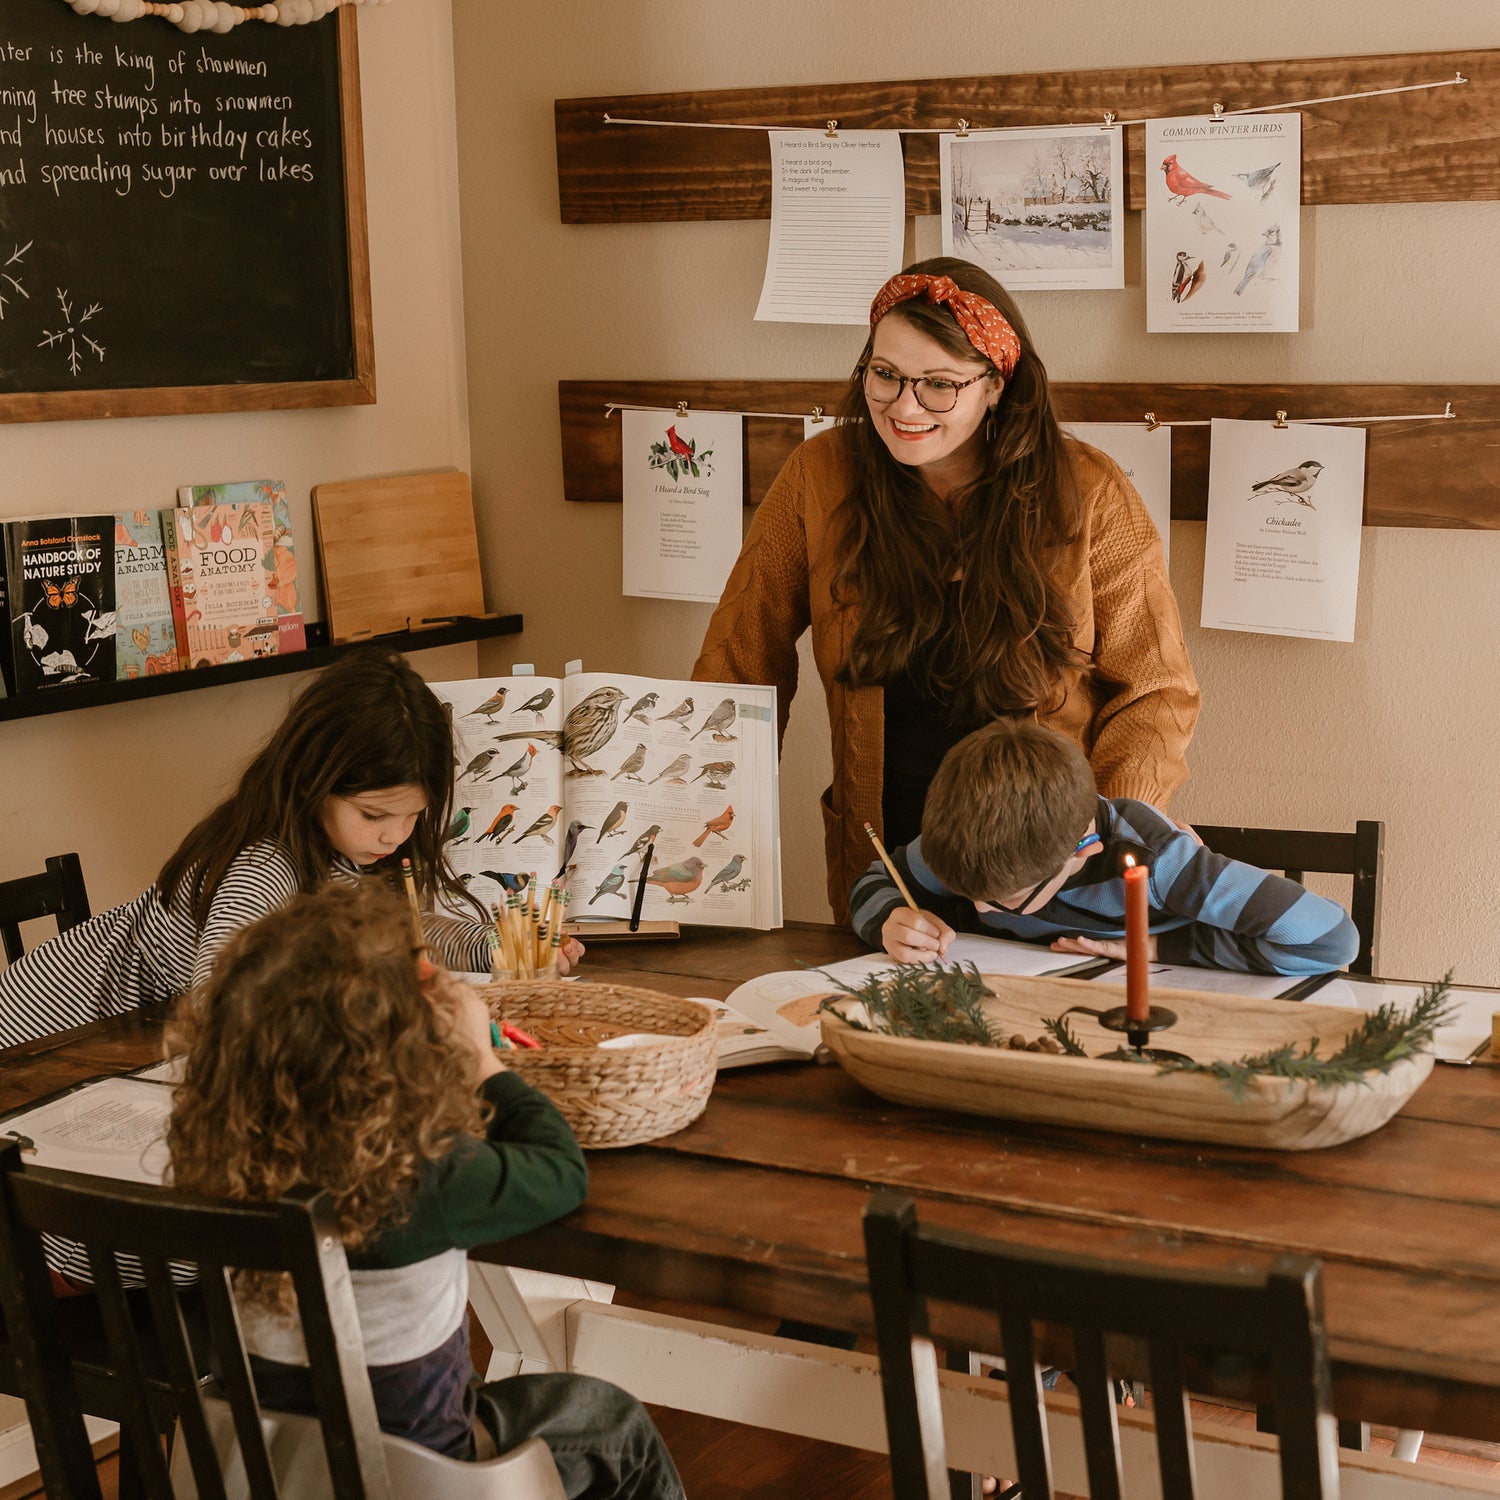
Fast-forward ten years or so and much of my vision is coming true before my eyes. I’ve got my family and my farmhouse table and the seats are filling up with wide-eyed imaginative children. While I can’t say that our school times are as unrealistically magical as I imagined, they are so full and rich even on the most chaotic of days and I am so thankful.
All I have been needing is my big ol’ chalkboard! I had been holding out to create the “perfect” classroom space until we built our dream home, but when those plans got put on hold and we moved back into our previous house, I decided to just go for it. I was shocked to learn how inexpensive and simple it was to create. I had some of the supplies already, so I was able to make our board for under $25! We have now had it for about six months and we use it almost every day!

Here is how you can make yours:
Supplies
- A piece of smooth hardboard, cut to the desired size. My husband picked up a piece from Lowe’s that was already a great size for our wall. Our piece is about 4 feet by 8 feet and was $9! If you wanted it smaller, you could ask for them to cut it for you in the store. You can really turn any smooth surface into a chalkboard, but if you are looking for something large, inexpensive, and thin to hang, this is a great option.
- Foam paint roller, tray, and handle. I used some I had lying around, but if you don’t have any of these, you could buy one here.
- Broomstick (optional). I unscrewed my broom head and screwed the roller on the end of it so I could lay the board flat and paint it from standing up. This is optional, but was easiest for me since I was pretty largely pregnant when I made it!
- Dry, lint-free rags. You will need a couple of clean dry rags to clean your board and for the curing process. Try to find one that won’t leave lint behind. I have and love these for my kitchen, so I used them for this as well.
- Chalkboard paint. You want to get a can of paint, not the spray. I used Rust-Oleum and have been very pleased. I didn’t need the whole can for my large board. Here is the one I bought.
- A bunch of cheap white chalk. You are going to need this chalk to condition the board. You need something that creates dust! Don’t get the fancy wax-type chalk. Here’s the one I use for conditioning and also writing.
How to create your chalkboard
1. Clean your hardboard.
Get a rag damp and wipe the board down. You want to make sure to get rid of all of the dust. Once the board is completely clean and dry from wiping, start painting! I laid my board on the ground and painted from a standing position, using a broomstick to extend my roller. I did 3 coats on my board and it was more than covered well. Let dry completely before each coat and before moving to the next step, following the drying time guidelines on the can.
2. Condition your board
To ensure ghosting doesn’t happen after you clean off what you have written, you need to create a chalk foundation on your board. Do not skip this step or you will regret it!
- Take a piece of white chalk and rub the entire surface vertically ensuring the board is covered. Use the side of the chalk rather than the tip.
- Once again, using the side of a piece of white chalk, rub the entire surface horizontally making sure the entire board is covered.
- Using a rag, work the chalk dust into all the nooks and crannies of the surface by wiping it in a circular motion all over the board. Once you have finished the entire board you can clean it with a wet rag and your board is all set to go!
3. Hang your chalkboard.
My husband used anchors and black screws and just screwed it around the edges right into the wall. Another option would be to frame it out and attach picture hangers to the back to hang it.

A few additional tips:
I don’t recommend using chalk markers or wax-like chalk on your board. I have had the best luck with the good ol’ inexpensive dusty chalk. I buy this one on Amazon.
If you use this tutorial to create your own chalkboard, please share it with me on Instagram. I would love to see how it looks in your home!


2 comments
Hope, we just screwed it to the wall!
Hi! I’m just curious about your method of hanging the chalkboard up? Just so I know what would work best!